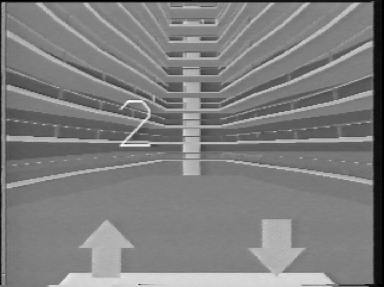

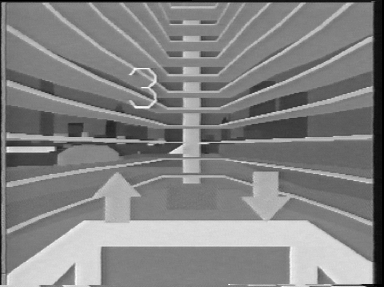
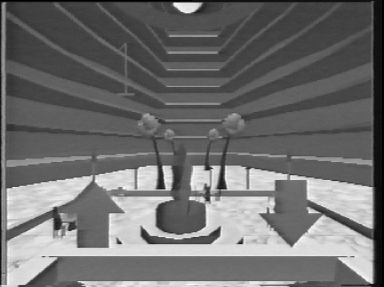
The first model of the elevator was a simple model of the inside of the building with floors passing by and a nice railing on each of these floors (see Figure 6.7). This model looked very promising but the response to movements of the user was not fast enough. When checking the complexity of the scene, it turned out that the railings contained half of the polygons.


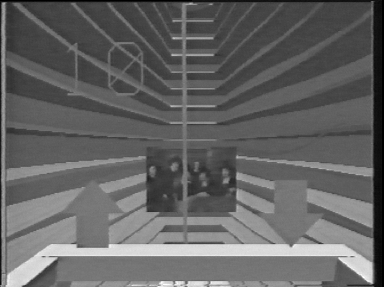
The scene on this painting was a texture map and could easily be replaced. This was a nice feature that we used when a demo was given to people from Coca Cola. Instead of the normal painting, we placed a Coke bear winking at the people riding the elevator.


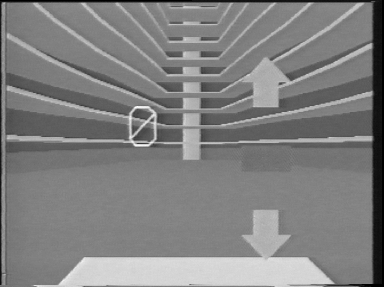
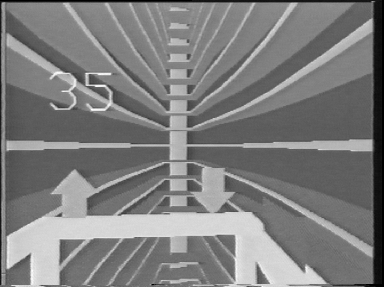
The first design had the buttons placed one on top of the other (see Figure 6.15). When designing the application, we tested the interface ourselves and it seemed to work. When testing the application with other people, it turned out that smaller people had a hard time reaching the top button.


Changes to semantical design
The Marriott Marquis was first modeled as a building with closed
walls. During one of the changes, the walls were removed to give the
user a better look outside the building. The walls did not come back
when more changes were made to the model. This made the model of the
building simpler. The people did believe the explanation of glass
walls. Maybe, it would be possible to mount the elevator to the
outside of a high building.
The building was modelled after the Marriott Marquis in downtown Atlanta. The success of this became apparent when people recognized the building. This later helped the sensation of height because people could recognize the building and understand how high it really was. Adding floors to the model would also help the user. Seeing the floors pass by when the elevator went up helped the user with the sensation of height.
Changes to syntactical design
During testing, and later during the experiment, it turned out that
sometimes the operator could help the user with finding the
buttons. The "flock of birds" tended to overheat after a longer period
of use and return incorrect data. This incorrect data made it harder
for the user to push the buttons. The operator could push the desired
button when the user was close enough.
The idea of the function "allow control" was, when implementing, that the user would have no control over the elevator. The psychologist could then tell the operator to move the elevator to a certain floor, and stop there. During testing, and later during the experiment, it was mainly used to prevent the user from accidently pushing a button, when looking around.
The function to hide the elevator was only used once, to test the level of presence. This scared the user enormously and might have given him acrophobia. Later, this function was only used to demonstrate the capabilities of the SVE toolkit to modify the environment.
The function to change the speed of the elevator was hardly used. Most people were satisfied with the default speed. Again, this function was used only to show the capabilities of the SVE toolkit and the elevator. Some people did not believe we could unlimitedly speed up the elevator.
Height clues
Use objects close by and far away. Having objects disappear behind
other objects (this was learned from the city of Atlanta model) and
having objects in the foreground disappear faster than objects far
away (restaurant and palm trees) gave a good impression of
height. This is also visible in the real world when travelling by
car. Objects close by move past us faster, while the moon, for
instance, stays with us.
Use well known objects. Objects that can be recognized help to increase the sense of height. For instance, many people recognized the Marriott Marquis building that was modelled and knew how high the building really was. It was already shown in Chapter 2 that this can help with presence.
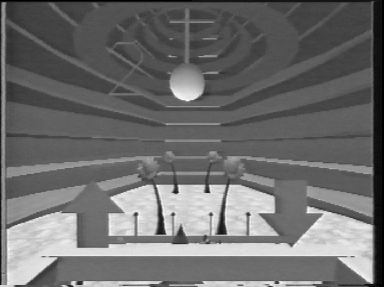
Use objects at different heights. Not only objects at ground level should be visible. While moving up, the user should still be able to see objects in front of him. With the elevator, this was accomplished by hanging chandeliers from the ceiling and having a painting hanging across the building. With the Atlanta model, this was not necessary because the model was so large that the user would always see some part of Atlanta ahead of him.
Use vanishing points. When looking in any direction objects will disappear to a point. This is especially visible using two parallel lines, the further away these lines are, the closer they appear to be to each other. The elevator used this with the railing running from the ceiling down to the bottom.
General clues
Use simple models. When building models, it is very important to make
the model as simple as possible but still have it contain all its
characteristics. When modelling the building, it was not necessary to
put in all the railings and the walls. The floors were enough to give
the impression of a building.
Use texture mapping where possible. The hardware used, an SGI Reality Engine, could do the texture mapping in hardware and it did not cost much computing power to use it. The texture mapping can help enormously to increase the level of realness and it hardly costs any polygons. There is a limit, however, to texture mapping. The moment this limit is reached the performance goes down very quickly.
Use light sources to add real shading to the model. Another feature of most SGI computers is that shading is done in hardware. Using the position of a light source, the computer calculates the right color and uses it to paint the objects. Again this feature is free and should be used as much as possible.
Use inexpensive gadgets to increases the realness of the environment. Use of inexpensive gadgets, such as the mock-up of the elevator, can help to increase the realness of the environment. It would be nice if the other environments could use this same mock-up to give some tactile feedback to the user.
Use other people to test. Have other people test your environment while building it. When you build an environment, you get to know it too well and know about its limitations. When you test it, you might forget about these limitations. Other people will not know about these limitations and find them for you. This became apparent when testing the user interface.
Second environment
The second environment built was that of a high building with a couple
of balconies attached to it. The user had no control over the height
and placement of these balconies. The operator could "teleport" the
user from one balcony to the other. When the operator pressed the
right button, the user was instantaneously moved from one balcony to
the other. There was nothing in between the different balconies. You
could move from one balcony to any other balcony.
When looking around the user could see mountains far away, a texture map, and a city in front of him, buildings far away and close by and of different heights. In between these buildings, roads were visible and some of them disappeared towards the mountains.
The same mock-up used for the elevator was used here again. In fact, the same model without the buttons was even used. The user could now feel the railings of the balcony and lean over them when looking down.
To assist the user in recognizing height, the building used for the elevator was placed in this environment, this time with walls. To help the students that came from Georgia Tech, a model of Tech Tower was added. Tech Tower is, besides Buzz, a popular symbol of Georgia Tech and most students have seen it for real and know high it is.
This environment was also tested with other people. Unlike the elevator, where many dozens of people had tested it, the balconies were only tested by the psychologists running the experiment.
Third environment
The final environment used was that of bridges in a canyon. The user
stood on a bridge in a canyon and could see walls rising up both on
the left and right of him. Underneath him ran a small river that was
visible to the front and back of him.
Both the walls of the canyon and the river were texture mapped. Two out of the three bridges were also texture mapped. The lowest bridge did not use texture mapping. To make this bridge look real, a light source was placed close to the bridge, so that the use of shading would make up for the texture maps missing.
The same mock-up as in the other two environments was used here as well, although it did not match what the user saw. Here it was more used to constrain the user to stay inside the range of the tracker and to give him something to hold on to.
All of the models used were very simple, which made this environment the most responsive to the user. The user could see nothing that was outside the canyon. Inside the canyon, only the other bridges were visible. The user could see the next bridge he would be "teleported" to. Like the balconies, the user had again no control over the environment.
Unlike the other models, the bridges environment was not tested. The idea was to test this environment during the experiment and use it later in the experiment. The problem was that most of the people had selected the bridges environment as the least scary. This meant that they had to start with this environment first. A quick test was performed the morning of the first experiment, the results of this test were satisfactory and it was used.
After the first day of the experiment, the psychologists asked to close the slots of the first bridge since this caused some problems for people. They did not like the fact that they could look down through the slots. The rest of the model turned out to be working correctly.


 Rob Kooper
 |
 kooper@cc.gatech.edu
|